How to Write a Professional Invoice: A Step-by-Step Guide
Learn how to write a professional invoice that gets paid faster. This step-by-step guide covers every required field, best practices, and common mistakes to avoid.
BT
Bizcalc Team
·May 5, 2026
Getting paid promptly and in full is one of the most important aspects of running a healthy business. Yet many freelancers, consultants, and small business owners unknowingly undermine their own cash flow by sending invoices that are incomplete, unclear, or simply unprofessional.
The good news is that learning how to write a professional invoice is straightforward. Once you understand the required components and the logic behind them, you will be able to produce clean, accurate, compelling invoices consistently — whether you are billing a client for a single project or managing recurring monthly retainers.
This step-by-step guide walks you through every element of a professional invoice, explains why each one matters, and shows you how to avoid the most common invoicing mistakes.
📄
Free Invoice Generator
Skip the manual formatting — enter your details and download a polished, AP-ready PDF invoice in under 2 minutes. No account required.
Why Invoice Quality Directly Affects How Fast You Get Paid
Before we dive into the structure, it is worth understanding why invoice quality matters beyond mere aesthetics.
Research consistently shows that the clarity and professionalism of an invoice correlates directly with payment speed. Reasons include:
Unclear invoices get deprioritized. A client's accounts payable team processes dozens of invoices per week. An invoice missing a PO number, a due date, or correct payment details gets flagged and set aside, not paid.
Errors create disputes. If a line item description is vague or the math does not add up, the client may dispute the invoice, triggering a lengthy back-and-forth that delays payment by weeks.
Professionalism builds trust. A polished invoice communicates that you run a serious operation. It is far easier to enforce payment terms with a client who respects your business.
Step 1: Choose the Right Tool
Before you worry about what to write, you need a reliable way to format and generate your invoice.
Your options range from basic to fully automated:
Method
Pros
Cons
Microsoft Word or Google Docs
Free, familiar
Manual math, no automation, easy to make errors
Microsoft Excel or Google Sheets
Auto-calculates totals
Formatting can break, not designed for invoicing
PDF-based Invoice Generator
Professional output, automatic math, free
Requires going online
Accounting Software (Xero, QuickBooks)
Full integration, payment tracking
Monthly subscription, complex for simple needs
For freelancers, small businesses, and anyone who needs a polished result without a subscription fee, using a dedicated Free Invoice Generator is the most efficient option. It handles all calculations automatically and produces a clean, professional PDF ready to send.
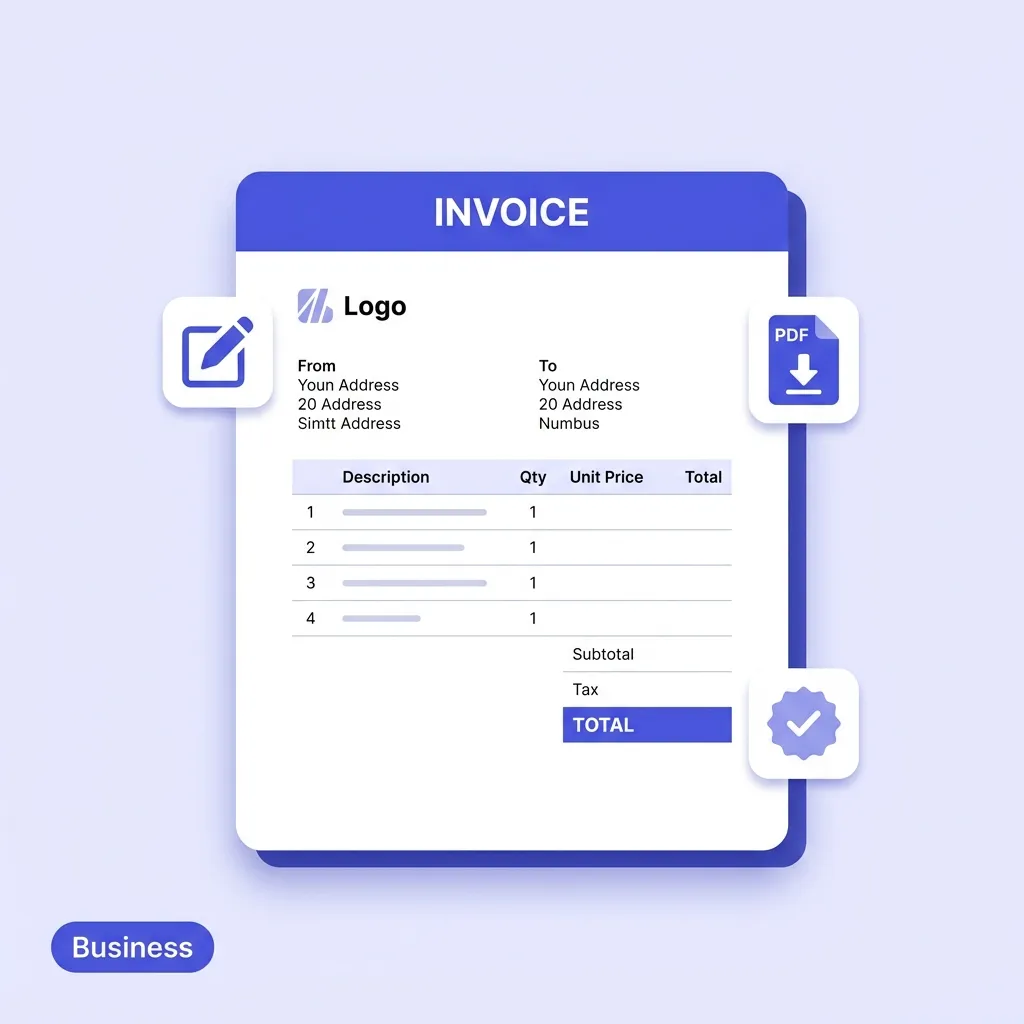
Step 2: Add Your Business Details
Every professional invoice must clearly identify who is sending it. This goes at the very top of the document and typically includes:
Your full business name (or your personal name if you trade as an individual)
Your business address
Your contact email and phone number
Your website (optional, but reinforces professionalism)
Your tax registration number — this is legally mandatory if you are VAT-registered in the EU, GST-registered in Australia, Canada, New Zealand, or India, or registered to collect sales tax
Pro tip for freelancers: Even if you are not legally required to register for VAT or GST at your current revenue level, using a professional header with a business trading name (rather than just your personal name) helps you appear more established and makes clients less likely to question your rates.
Step 3: Add Your Client's Details
Directly below your own information, include the full details of the person or company you are billing:
Company Name (exactly as it appears on their official business registration)
Billing Address — note this is often different from the delivery address
The name of the contact person (e.g., "Attn: Sarah Johnson, Accounts Payable")
Their email address
Getting the client's details exactly right is especially important for B2B invoices, as the accounts payable department may bounce your invoice if the company name does not match their records.
Step 4: Assign a Unique Invoice Number
Every single invoice you issue must carry a unique, sequential invoice number (e.g., INV-1001, INV-1002, etc.).
Invoice numbers serve several purposes:
They allow both you and your client to quickly reference a specific transaction in any future communication.
They are required by tax authorities in most countries.
They help you track which invoices have been paid and which are overdue.
Recommended Formats:
INV-1001 — Simple and clean
2026-1001 — Year-prefixed for easy archiving
CLIENTNAME-001 — Client-specific numbering for easy cross-referencing
Once you assign a number, never reuse it. Every invoice must be unique.
Step 5: Set the Invoice Date and Due Date
The Invoice Date is the date you issue the document. The Due Date is the deadline by which the client must pay.
These two dates together create your payment terms. The most common payment terms worldwide are:
Term
Meaning
Best Used For
Due on Receipt
Payment expected immediately upon receiving the invoice
Small transactions, new clients, or clients with a history of late payment
Net 7
Payment due within 7 days of the invoice date
Quick turnaround service jobs
Net 14
Payment due within 14 days
Standard for many freelance and small business agreements
Net 30
Payment due within 30 days
Standard B2B payment terms for larger companies
Net 60
Payment due within 60 days
Large corporate clients and government procurement
A critical note: Many freelancers and small business owners make the mistake of writing "Payment Terms: 30 days" without specifying an actual due date. Always calculate and include the specific due date (e.g., "Due: 04 June 2026") to eliminate ambiguity.
Step 6: Reference the Project, Contract, or Purchase Order
If your client issued a Purchase Order (PO) before the work began, include that PO number prominently on the invoice. This is non-negotiable for corporate and enterprise clients, whose accounts payable systems may automatically reject any invoice that does not reference a valid PO.
If there was no PO, reference the original quote number or the project name instead (e.g., "Re: Brand Identity Project — Phase 1").
Step 7: Write Clear, Detailed Line Items
This is the most important section of the invoice and the most common source of errors and disputes.
Each line item represents a distinct product sold or service rendered. For each line, include:
Quantity — How many units, or how many hours
Description — A specific, clear description of what was provided
Unit Price / Rate — The price per unit or per hour
Line Total — Quantity × Unit Price
Bad vs. Good Line Item Descriptions
❌ Vague (Causes Disputes)
✅ Clear (Speeds Up Payment)
Design work
Website redesign — Homepage and About page
Consulting
Business strategy consultation — 3 sessions × 2 hours
Content
4 × SEO blog posts (1,500 words each) — April 2026
Software
Annual licence fee — Project management software
The clearer your descriptions, the fewer questions your client will have, and the faster the invoice will move through their approval process.
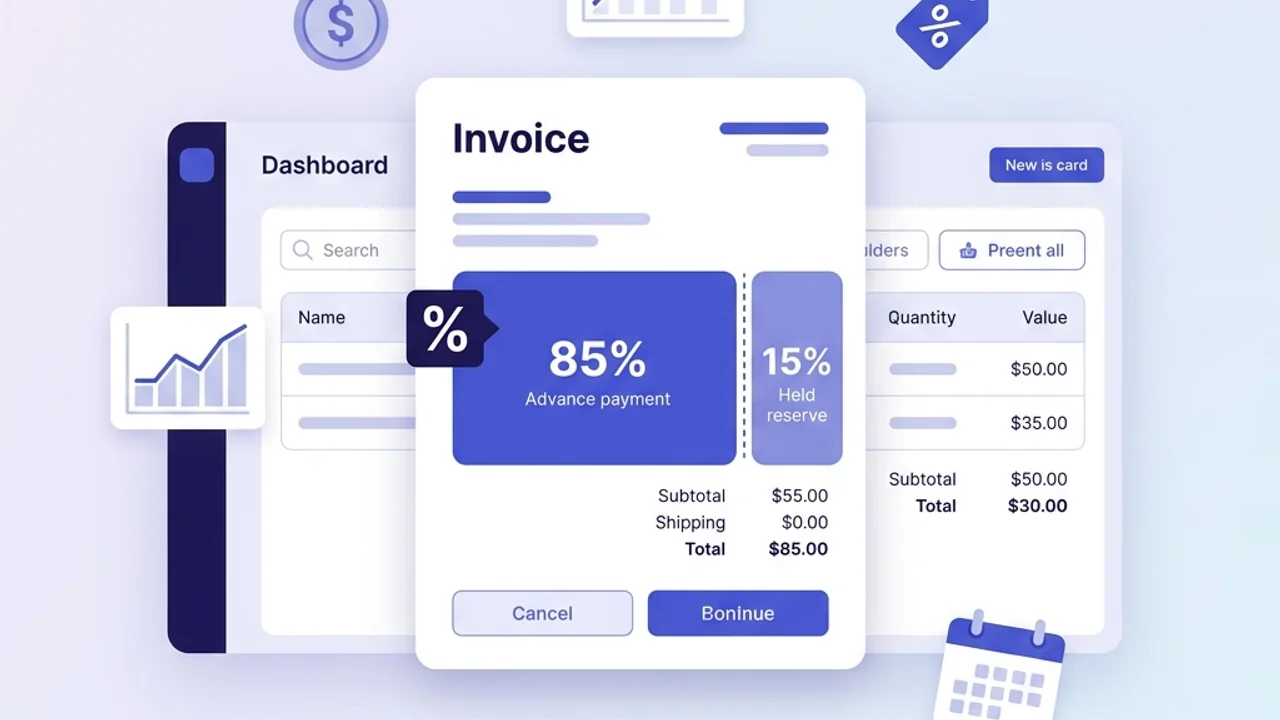
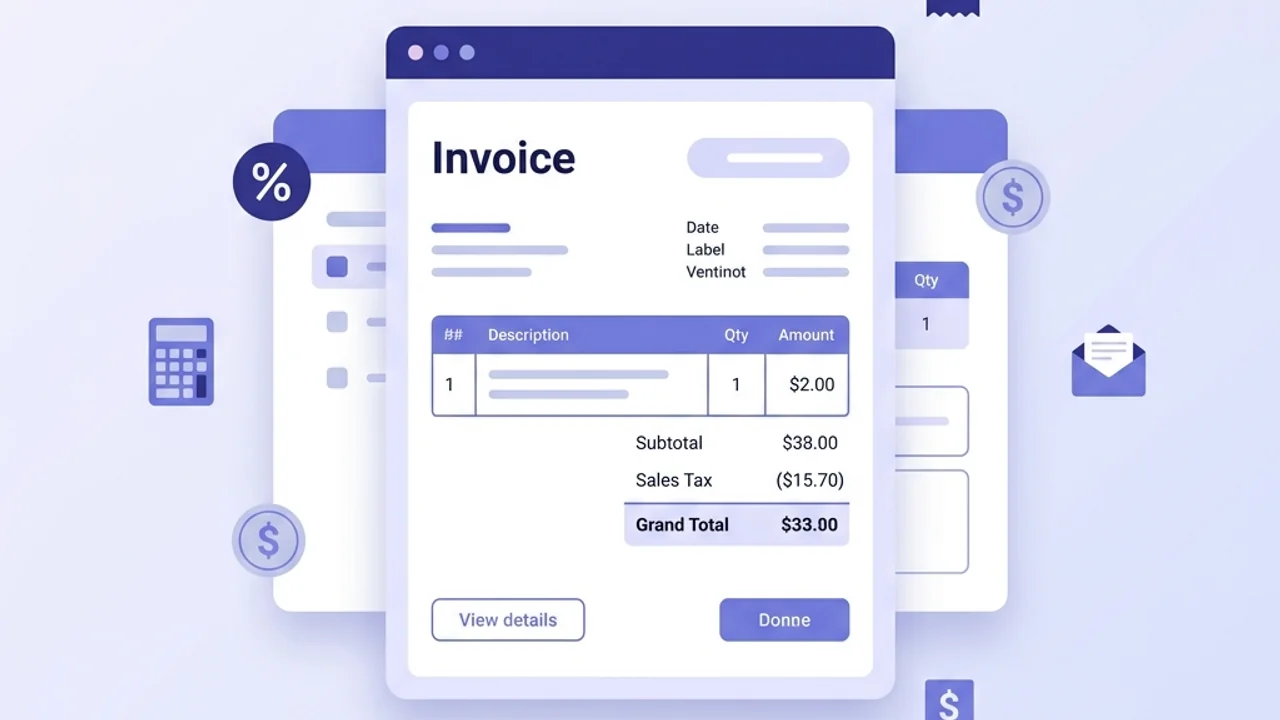
Step 8: Calculate Subtotals, Discounts, and Taxes
Once all line items are entered, your invoice needs a clear financial summary at the bottom:
Subtotal — The sum of all line totals, before any adjustments.
Discount (if applicable) — Any agreed discount (shown as a percentage or a fixed amount).
Tax (VAT / GST / Sales Tax) — State the tax rate and the exact tax amount separately. This is legally required in most jurisdictions.
Total Amount Due — The final, unambiguous number the client needs to pay.
A good invoice generator handles all of this math automatically, eliminating any risk of calculation errors.
Step 9: Include Clear Payment Instructions
Knowing how much they owe is only half the battle for your client. They also need to know exactly how to pay you. Include:
Bank Transfer (SWIFT/SEPA/BACS): Provide your full bank name, account holder name, account number, sort code, IBAN, and SWIFT/BIC code for international payments.
Online Payment Link: If you accept card payments via Stripe, PayPal, or similar, include the direct payment link.
Accepted Currencies: If you work with international clients, explicitly state which currency you are invoicing in.
Ambiguous payment instructions are one of the most common reasons invoices are paid late. Make it as easy as possible for the client to send the money.
🧾
Free Receipt Generator
When the payment clears, send your client a professional receipt to formally close the transaction — with zero effort on your end.
The notes section is your opportunity to include any additional context or protective terms. Common inclusions are:
Late payment fees: "A late payment fee of 2% per month will be applied to invoices paid after the due date." (Check if this is legally enforceable in your jurisdiction first.)
Ownership clauses: "Intellectual property and creative assets remain the property of [Your Business] until payment is received in full."
A personal note: A simple "Thank you for your business — it's a pleasure working with you" goes a long way in maintaining a positive client relationship.
Common Invoicing Mistakes to Avoid
Mistake
Why It's a Problem
The Fix
No Due Date
Client delays payment indefinitely
Always specify an exact due date
Vague line descriptions
Client disputes what they're paying for
Be specific about the deliverables
Missing tax registration number
Non-compliant with VAT/GST law
Include your tax ID if registered
Wrong client name or address
Invoice bounced by accounts payable
Double-check against the client's own records
Math errors
Erodes professional credibility
Use an automated generator to eliminate human error
No reference to original quote/PO
Invoice rejected by corporate systems
Always reference the originating document
What Happens After You Send the Invoice?
Once the invoice is sent, your job is not done. Set a reminder to follow up if payment has not arrived by the due date. A polite, professional follow-up email referencing the invoice number and the outstanding balance is usually all it takes.
When the payment clears, send your client a Payment Receipt to formally close the transaction. This provides them with the proof of payment they need for their own bookkeeping.
Create Your First Professional Invoice Now
You now have everything you need to write a professional invoice that is clear, compliant, and compelling. The quickest way to put this into practice is to use a tool that handles all the formatting and math for you.
Our Free Invoice Generator lets you enter your details once and generate a polished PDF invoice in under two minutes — no signup required, no watermark, and no subscription fee.
📄
Free Invoice Generator
Enter your details once and download a professionally formatted PDF invoice — automatic math, zero errors, no subscription.
An invoice must include 'Invoice' as the title, a unique invoice number, dates (issue and due), business info (yours and the client's), itemized descriptions, and the total amount due.
How long do clients have to pay an invoice?
This is determined by your payment terms. Standard terms are 'Net 30' (payment due in 30 days) or 'Due on Receipt' (payment due immediately upon receiving the invoice).
Should I include a polite note on my invoice?
Yes, adding a simple 'Thank you for your business' at the bottom of the invoice has been shown to increase the speed at which invoices are paid.
Can I create an invoice in Microsoft Word?
Yes, you can use Word or Excel templates. However, you should always export the final document as a PDF before sending it to ensure the formatting cannot be altered.
What is an invoice number and why is it important?
An invoice number is a unique sequential identifier for each bill. It is essential for accounting, tax records, and tracking which clients have paid.
#how to write a professional invoice#how to write an invoice#invoice guide#invoice template#freelance invoice