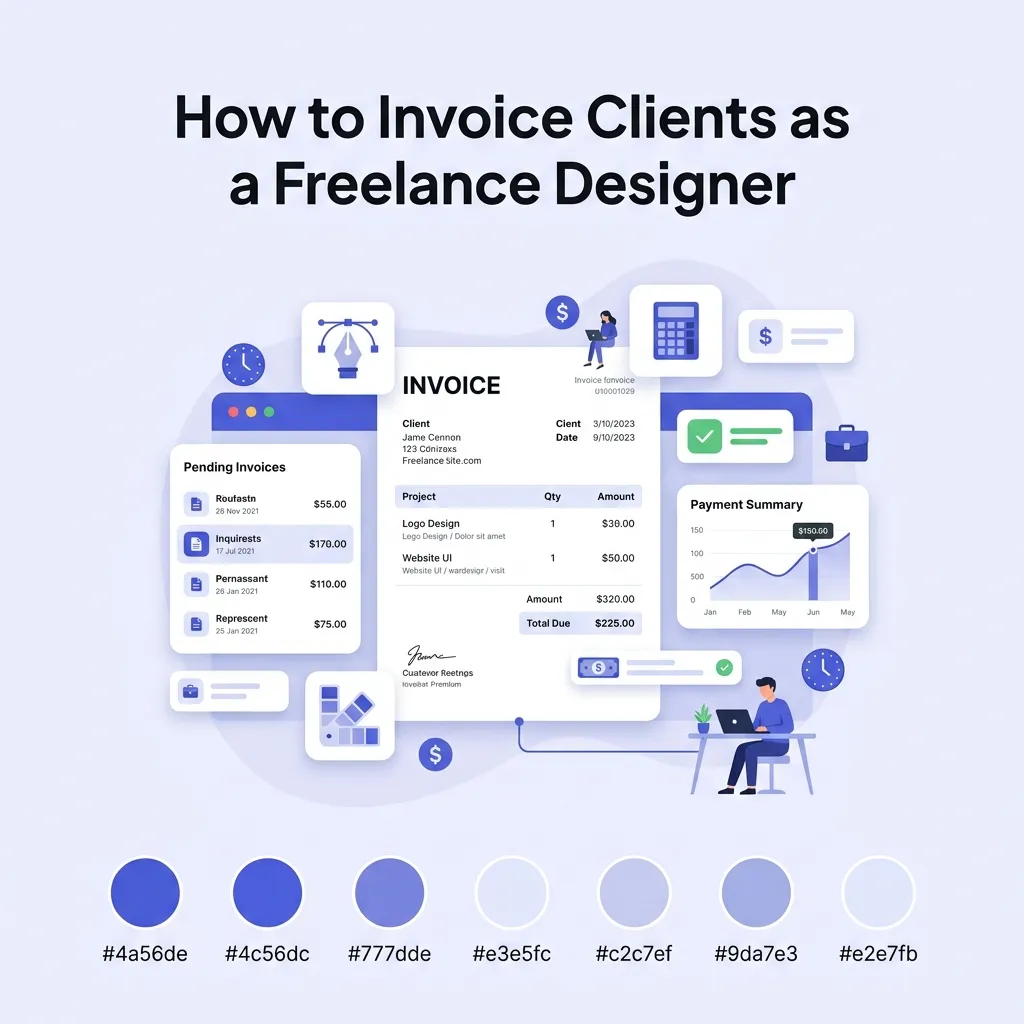
How to Invoice Clients as a Freelance Designer: A Complete Guide
Master how to invoice clients as a freelance designer to get paid faster, avoid scope creep, and look professional. Includes best practices, international payment tips, and line item examples.
BT
Bizcalc Team
·May 13, 2026
For many creative professionals, the actual act of designing is only half the job. The other half is running a business. And learning how to invoice clients as a freelance designer is arguably the most critical business skill you can master.
Why? Because no matter how beautiful your typography is, or how flawless your user interfaces are, your freelance business cannot survive without cash flow. Yet, creative professionals often struggle with invoicing. They feel awkward asking for money, they use vague descriptions that confuse clients, or they send invoices missing crucial details, causing payments to be delayed by weeks or even months.
When you send a professional, detailed, and legally compliant invoice, you are doing more than just asking for money. You are setting boundaries, demonstrating professionalism, and giving your client's accounts payable department exactly what they need to process your payment immediately.
Whether you are a graphic designer creating brand identities, a UX/UI designer building web apps, or a motion designer animating campaigns, this comprehensive guide will teach you exactly how to invoice clients as a freelance designer. We will cover everything from the anatomy of a perfect invoice and international payment methods, to handling late payers and structuring your payment terms.
📄
Free Invoice Generator for Designers
Create a professional, client-ready PDF invoice in minutes — no account, no watermark, no subscription. Built for freelancers who need to get paid fast.
Why Your Invoice Design Matters Just as Much as Your Graphic Design
As a designer, you know that visual communication dictates how people perceive value. Your invoice is often the last piece of communication a client receives from you for a specific project. It is a reflection of your brand.
If you deliver a stunning, high-end website, but then send a messy, unformatted Microsoft Word document as your invoice, it creates cognitive dissonance. It looks amateurish. Conversely, a clean, branded, and impeccably structured invoice reinforces the premium nature of your services. It tells the client: I am a professional, and I take my business seriously.
But beyond aesthetics, the structure of your invoice directly impacts how fast you get paid.
Corporate clients do not pay invoices out of their personal bank accounts. Your invoice is usually forwarded by your point of contact to an accounting or accounts payable (AP) department. The AP clerk does not know you, they do not care about the beautiful logo you designed, and they do not know what was discussed in your Zoom calls. They only look at the document in front of them to verify if it complies with their company’s strict payment rules.
If your invoice is missing a tax ID, a purchase order (PO) number, or clear banking details, the AP clerk will simply reject it or set it aside. Mastering how to invoice clients as a freelance designer means designing your invoice for the AP department, not just your creative director contact.
The Anatomy of a Perfect Freelance Design Invoice
A professional invoice leaves no room for ambiguity. Regardless of where you are located or where your client is based, every freelance design invoice should contain the following elements.
1. A Clear, Professional Header
At the very top of the document, the word INVOICE should be clearly visible. Below or beside this, include your business branding and details:
Your logo (optional but recommended)
Your full name or your registered business name
Your physical address (essential for tax compliance in most countries)
Your email address and phone number
Your Tax ID / VAT Number / GST Number: If your country requires you to be registered for value-added tax or sales tax, your registration number must legally be on the invoice.
2. The Client’s Details
Directly below your information, list the entity you are billing. Getting this right is crucial—if you bill "Acme Design" but their legal entity is "Acme Holdings LLC," their accounting department may refuse to pay it until it is corrected.
The client's official registered company name
The client's billing address
The name of your specific contact person (e.g., "Attn: Marketing Director")
The client's Tax ID (if required for cross-border B2B transactions, particularly in the EU and UK)
3. Invoice Number and Dates
Invoice Number: Every invoice must have a unique, sequential number (e.g., INV-2026-045). Never reuse an invoice number. This is a legal requirement in almost every jurisdiction and makes referencing payments much easier.
Date of Issue: The exact date you generated and sent the invoice.
Due Date: The exact date the payment is expected. Do not just write "Net 30"—do the math for them and write "Due Date: 15 November 2026."
4. Reference Numbers
If your client issued you a Purchase Order (PO) before you started the work, you must include the PO Number on your invoice. For medium to large companies, an invoice without a PO number is effectively invisible to their payment system. You can also include a reference to your original quote or proposal number.
5. Detailed Line Items (The Core of the Invoice)
This is where freelance designers make the most mistakes. Never write a single line item that just says "Design Services - $5,000." You need to break down the value you provided. We will cover exactly how to write these descriptions later in this guide. For every line item, include:
A clear description of the specific deliverable or task
The quantity (number of revisions, hours, or units)
The unit price or hourly rate
The line total
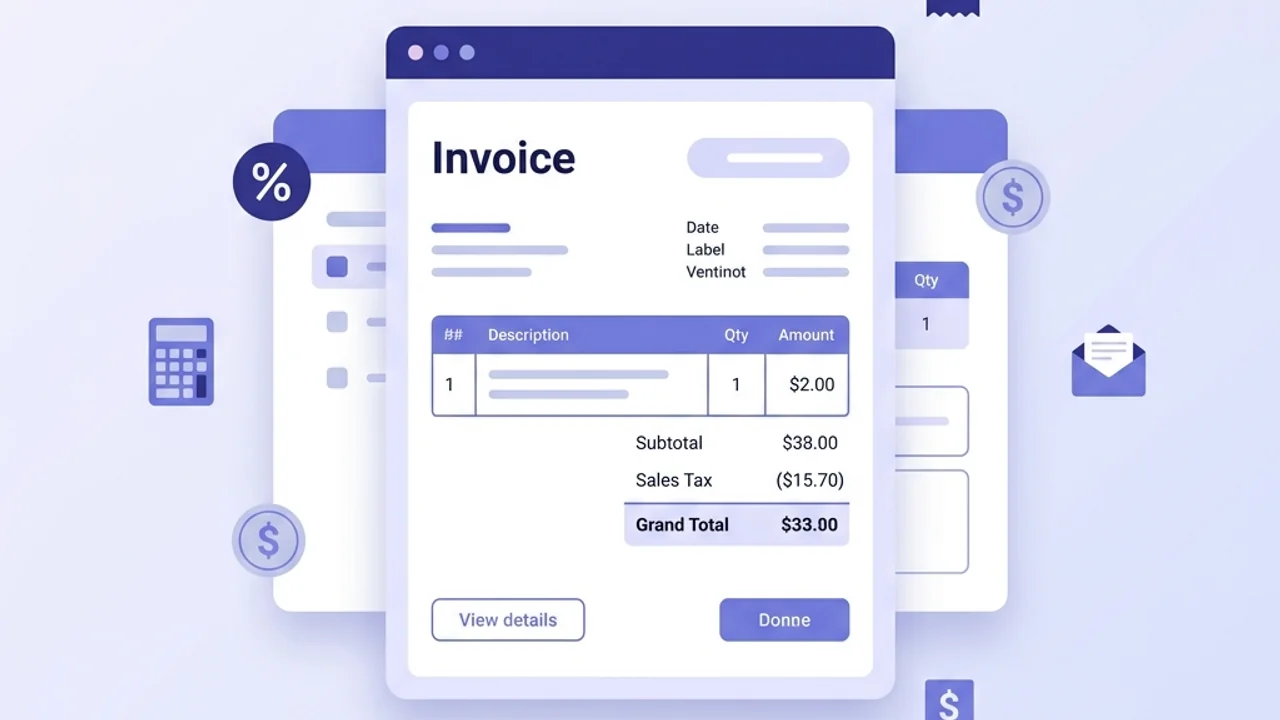
6. The Financial Summary
At the bottom of the invoice, summarize the math cleanly:
Subtotal: The total of all line items before tax or discounts.
Discounts: If you offered a "goodwill" discount or a retainer discount, show it here. (Pro tip: Always show discounts on the invoice so the client sees the value they are getting).
Taxes: If you must charge sales tax, VAT, or GST, state the percentage rate and the calculated tax amount on its own line.
Total Amount Due: The final amount the client needs to pay, clearly highlighted and bolded.
7. Explicit Payment Instructions
Make it as frictionless as possible for the client to pay you. If you accept bank transfers, provide your full name, bank name, account number, routing number/sort code, and for international clients, your IBAN and SWIFT/BIC codes. If you accept credit cards via Stripe or PayPal, include a clickable "Pay Now" link directly on the PDF.
When to Invoice: A Proven Workflow for Freelance Designers
Knowing how to invoice clients as a freelance designer is important, but knowing when to invoice is what protects your cash flow. One of the biggest mistakes amateur freelancers make is waiting until a project is 100% complete before asking for a single dollar.
Design projects are notorious for scope creep, delayed client feedback, and shifting launch dates. If your payment is tied solely to the "final launch," you are entirely at the mercy of the client's timeline. Here are the best ways to structure your invoicing workflow:
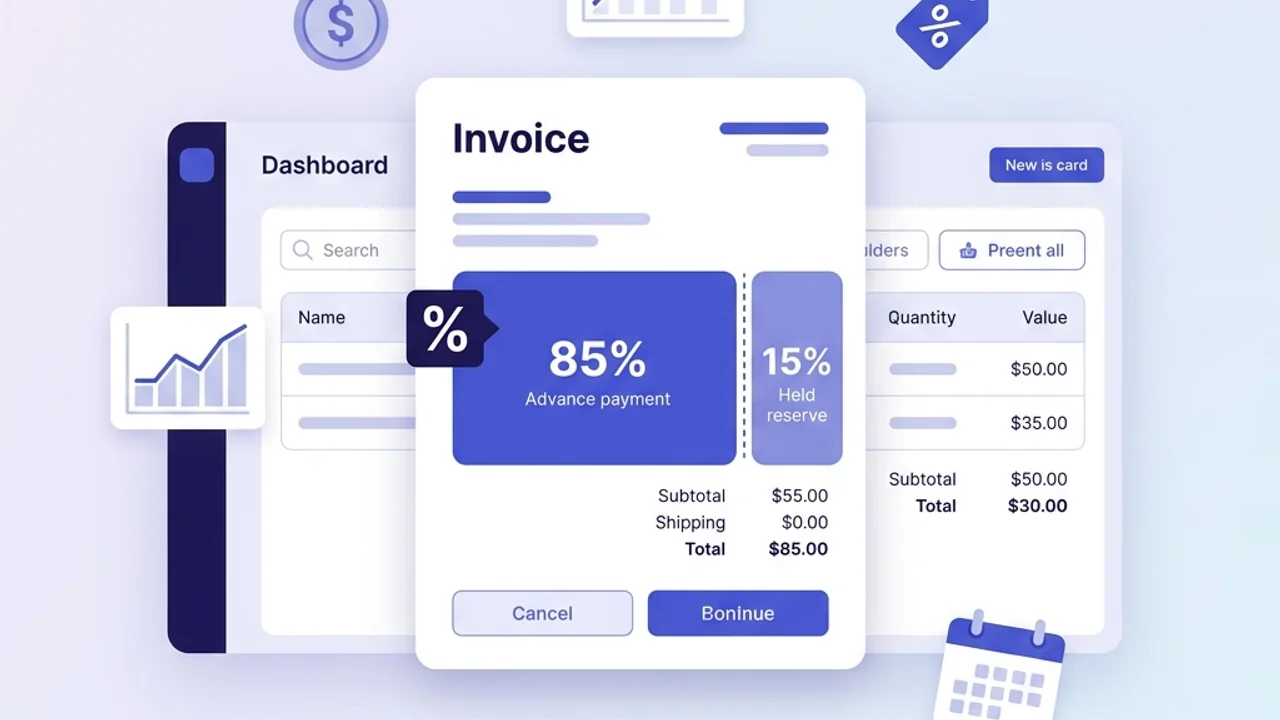
1. The Deposit (Upfront Invoice)
Never start design work without a deposit. A deposit secures your spot in the schedule, proves the client is serious, and gives you cash flow to operate while doing the work.
Standard practice: 50% upfront, 50% upon completion.
For larger projects (e.g., over $5,000): Consider a 30% / 30% / 40% split or 25% / 25% / 25% / 25% tied to specific milestones.
2. Milestone Invoicing
For longer projects (like a massive website redesign or a comprehensive brand identity rollout), tie your invoices to specific, objective milestones—not dates.
Invoice 1: 30% Upfront deposit to commence work.
Invoice 2: 30% Upon approval of initial wireframes/concept sketches.
Invoice 3: 40% Upon delivery of final assets (prior to handing over source files).
3. Retainer Invoicing
If you offer ongoing design services (e.g., 20 hours of graphic design per month for a marketing agency), invoice on a strict schedule.
Always invoice in advance for the upcoming month (e.g., send the invoice on May 25th for June's retainer).
Include a clause that unused hours do not roll over, ensuring your capacity is predictable.
4. The Final Invoice (The "Hostage" Strategy)
The golden rule of freelance design: Never hand over the final, unwatermarked, high-resolution source files until the final invoice is paid. You can deliver watermarked PDFs or host a staging site for final review, but the transfer of Intellectual Property (IP) and source files (Figma, Illustrator, After Effects files) should only occur once the money hits your bank account.
Writing Line Items That Don’t Get Disputed
When a client looks at your invoice, they should never have to ask, "What is this charge for?" Vague invoices lead to emails, emails lead to meetings, and meetings delay your payment.
Whether you bill flat-rate (project-based) or hourly, your descriptions must be precise.
For Flat-Rate / Project-Based Pricing
❌ Bad Example:
Logo Design — $2,500(Why it’s bad: It doesn’t explain what was actually delivered. If the client asks for 10 more revisions, you have nothing to point to showing they are out of scope).
✅ Good Example:
Brand Identity Package: Primary logo, secondary logo mark, and brand color palette. Includes initial concept presentation (3 concepts) and up to 2 rounds of revisions. — $2,500
For Hourly Pricing
❌ Bad Example:
Web Design (15 hours @ $75/hr) — $1,125(Why it’s bad: The client will wonder what you actually did for those 15 hours).
✅ Good Example:
UI Design for E-commerce Checkout Flow: Wireframing, high-fidelity mockups in Figma, and prototyping mobile responsive states. (15 hours @ $75/hr) — $1,125
Charging for "Extras"
Always itemize things like stock photography, premium font licenses, rush fees, or out-of-scope revisions as separate line items. This provides transparency. If you bought a $50 typeface for their project, line-item it as “Commercial Font License (Proxima Nova) — $50” rather than just burying it in your design fee.
Setting Your Payment Terms (And Sticking to Them)
Your payment terms dictate the rules of engagement. They should be agreed upon in your initial contract, but they must be reiterated on the bottom of every invoice you send.
Standard Payment Windows
Due on Receipt: Payment is expected as soon as the invoice is opened. This is common for small, one-off tasks, deposits, or retainers.
Net 14 or Net 15: Payment is due 14 or 15 days from the invoice issue date. This is the sweet spot for most freelancers. It gives the client’s accounting department enough time to process it, but doesn't leave you waiting a month.
Net 30: Payment is due 30 days from issue. This is standard for large corporations and enterprise clients. It is very difficult to force a Fortune 500 company to pay faster than Net 30, so you must build this delay into your cash flow planning.
Late Fees
You are a business, not a bank; you do not offer interest-free loans. You should include a late fee policy in your invoice notes.
Example Note: "Payments not received by the due date are subject to a late fee of 2% per month."
Note on enforcement: In many jurisdictions, there are legal limits to how much interest you can charge on late commercial payments. Check your local laws (such as the Late Payment of Commercial Debts Act in the UK). Even if you choose not to strictly enforce the fee for a client who is 2 days late, having the clause on the invoice acts as a powerful deterrent.
Rush Fees
If a client needs a design turned around over the weekend or within 24 hours, you should charge a premium. Add this to your invoice as a clear line item (e.g., "100% Rush Fee Surcharge for Weekend Delivery"). This trains the client to respect your time and plan better in the future.
Handling International Clients and Currencies
In the modern digital economy, a freelance designer in Berlin can easily have clients in New York, Sydney, and Tokyo. But international invoicing introduces complexities regarding currency, fees, and tax.
1. Choose Your Currency Wisely
The best practice is to invoice in your own local currency whenever possible. This shifts the foreign exchange (FX) risk to the client. If you must invoice in the client's currency (e.g., a European designer invoicing an American client in USD), you risk losing money if the exchange rate drops between the time you send the invoice and the time it is paid.
2. Specify the Currency
Never just use the "$" symbol. Is that US Dollars, Canadian Dollars, or Australian Dollars? Always use the official 3-letter currency code (e.g., USD, EUR, GBP, AUD) on your invoice to prevent disastrous misunderstandings.
3. Navigating Transfer Fees
Traditional wire transfers (SWIFT) are incredibly expensive. A client might send you $1,000, but intermediate banks might take $40 in fees, and your receiving bank might take another $15, leaving you with $945.
The Solution: Use borderless accounts like Wise (formerly TransferWise), Payoneer, or Revolut Business. These services give you local bank details in multiple countries (e.g., a US routing number and an EU IBAN). Your client pays via a local domestic transfer (which is usually free for them), and you receive the money with minimal conversion fees.
4. International Taxes
Tax laws are complex, but generally speaking, if you are exporting B2B design services to a client in another country, you often do not charge your local VAT/GST (this is usually subject to the "reverse charge" mechanism). However, you must state on the invoice why tax is not being charged (e.g., "Services subject to the reverse charge mechanism"). Always consult a local accountant regarding cross-border tax compliance.
What to Do When a Client Pays Late
Even with the perfect invoice, you will eventually encounter a late payer. How you handle this separates the amateurs from the professionals. Do not immediately assume malice; AP departments lose emails, people go on vacation, and systems crash.
Adopt a "Nice but Firm" follow-up sequence:
The Day After Due Date (Day +1): Send a gentle, friendly reminder.
"Hi [Name], I hope you're having a great week. I’m just following up on Invoice #INV-045 for $2,500, which was due yesterday. I’ve re-attached it here for your convenience. Let me know if you need anything else to process this!"
One Week Late (Day +7): Slightly firmer, asking for a status update.
"Hi [Name], following up again on the below invoice, which is now a week overdue. Could you please let me know when this is scheduled for payment?"
Two Weeks Late (Day +14): Bring up the late fees outlined in your terms.
"Hi [Name], Invoice #INV-045 is now 14 days overdue. As per the terms on the invoice, a 2% late fee will be applied if payment is not received by Friday. Please let me know the status immediately."
Halt All Work: If you are on a retainer or mid-project, stop all design work immediately. Do not deliver any more assets until the outstanding balance is cleared.
Tools for Freelance Designers to Automate Invoicing
You should not be designing your invoices in Adobe Illustrator or InDesign. While it might be tempting to flex your layout skills, manual invoices are prone to math errors, require manual updating of dates and invoice numbers, and make tracking late payments a nightmare.
For simple, one-off invoices, the easiest method is to use a dedicated, automated tool that does the math for you and generates a pristine PDF.
At Bizcalc Tools, we built a Free Invoice Generator specifically designed for small businesses and freelancers. It automatically calculates subtotals, handles multiple tax rates, allows you to add discounts, and formats everything into a professional, AP-ready PDF that you can download instantly without signing up.
📄
Free Invoice Generator
Automatically calculates subtotals, handles tax rates, and formats everything into a professional PDF. No sign-up — just fill in your details and download.
If your freelance business is scaling and you need to send recurring invoices, track expenses, and accept integrated credit card payments, you should consider graduating to dedicated accounting software like Xero, QuickBooks Online, or freelancer-focused platforms like FreshBooks or Bonsai.
Summary: Your Freelance Invoicing Checklist
Before you hit "Send" on your next invoice, run it through this quick checklist:
Does it clearly say "INVOICE" at the top?
Are my business name, address, and Tax ID (if applicable) included?
Is the client’s exact legal entity name and address correct?
Is there a unique, sequential invoice number?
Did I include an exact Due Date (not just "Net 14")?
Is the Purchase Order (PO) number referenced?
Are the line items highly detailed, showing exactly what was delivered?
Are the math, subtotals, and taxes 100% correct?
Are my bank details or payment links clearly visible?
Is my late fee policy listed in the notes?
Mastering how to invoice clients as a freelance designer is the bridge between a fun creative hobby and a highly profitable, sustainable business. By structuring your invoices professionally, enforcing deposits, and making it frictionless for international clients to pay you, you eliminate the stress of cash flow management—leaving you free to focus on what you actually love doing: designing.
🧾
Free Receipt Generator
Once a client's payment clears, send them a professional proof of payment instantly. No sign-up required — close every transaction on a high note.
When should a freelance designer invoice a client?
Most designers charge a 50% deposit upfront before beginning any work, and invoice the final 50% upon delivery of the final source files or project completion.
Should I hold back final files until the invoice is paid?
Yes, this is industry standard. You should present watermarked or low-resolution proofs for approval, and only release the final, high-resolution vector files after the final invoice is paid.
How do I invoice for font or stock photo licenses?
You should itemize these as separate 'Reimbursable Expenses' on your invoice and provide the original receipts to the client. Ensure your contract specifies that the client covers these costs.
What are revision fees, and how do I invoice them?
If a client requests changes beyond the number of revisions agreed upon in your contract, you should invoice these as 'Additional Revisions' at your standard hourly rate.
Do I need to include copyright transfer terms on the invoice?
While it is best to have this in a formal contract, many designers include a note on the final invoice stating: 'Full copyright and usage rights transfer to the client upon receipt of full payment.'
#how to invoice clients as a freelance designer#freelance design invoice#graphic design invoice#freelance invoicing#creative business#getting paid